To determine the correct north-south position, we fashioned a 1/4" by 1/2" block of wood and drew a line across the top of the short side to represent the width of the tangent. This block is slipped under the strings and a pencil mark made on the key to show where the back end of the tangent will go. As of this writing I've got six keys done. I tried to show in the following picture how two strings are crossing within that space marked off in pencil on the block of wood. That space represents the tangent.

This task is certainly not a snap because pencil lead is downright fat for this job, and it's easy to get it wrong. It would seem that I'm good with a few and then I'm worthless. Fortunately, it turns out the sous chef is pretty good at it, so he might end up marking more of the north-south positions than I will.
Next is finding the east-west position - an easier task because the blueprint shows it. Sometimes the tangent looks dead center; other times, it's off to the left or the right. The east-west position is also marked in pencil on the key.

I cut the keyboard diagram out of the blueprint for ease of reference. (Before I began this entire project, I went to the city planning office of the little town where I was living at the time and had them make a full size copy of the bludprint. I have dreams of framing it some day.) So why not use the blueprint to determine the north-south position as well? It leaves too much to chance. The width of the top of the tangent where it hits the strings is just a hair over 1/8". At this point, the distance between the two strings is 1/8". So precision is required. A listing cloth which is installed later will draw the strings closer together.
Not all the tangents will hit two strings. To make this easier for me to spot, I circled the pairs of tangents assigned to the same two strings. Get off by one, and you're going to be filling holes and redrilling. I also occasionally filled in key numbers on the diagram. Anything to keep me on track.

Next up is drilling a small hole to accommodate the tangent. The manual says it's pretty easy to split these higher keys and that if you do, you glue, clamp, wait, and then try again. I, of course, had to come up with a plan to reduce the likelihood of a split, so rather than jumping right in with the 3/32" bit, I preceded it with a pilot hole of 1/16". And that was preceded by a few taps of a skinny little nail to make a divot.

Yes, it's a lot of switching back and forth between two bits, but it's worth it. The danger diminishes after the first half dozen keys (or so I'm told), but I plan to continue to do this for all the keys anyway. I just want to be safe.


When the tangent protrudes approximately 3/4" out the bottom of the key, it's time to trim it off and check it in place for good clearance. The tangents want to twist around and bend and generally misbehave, but that's easily remedied with pliers.

Trimming the tail of the tangent with wire snips is too difficult for me, so I use my wonderful Foredom with a cutting wheel. The Foredom is probably my all-time favorite tool. I use it in silversmithing, but it has come in handy for all sorts of other projects. The Dremel would also work, but it's just one more bakc-and-forth switch that I don't want to fuss with, and the cutting wheel can stay put on the Foredom until I'm done with the instrument.

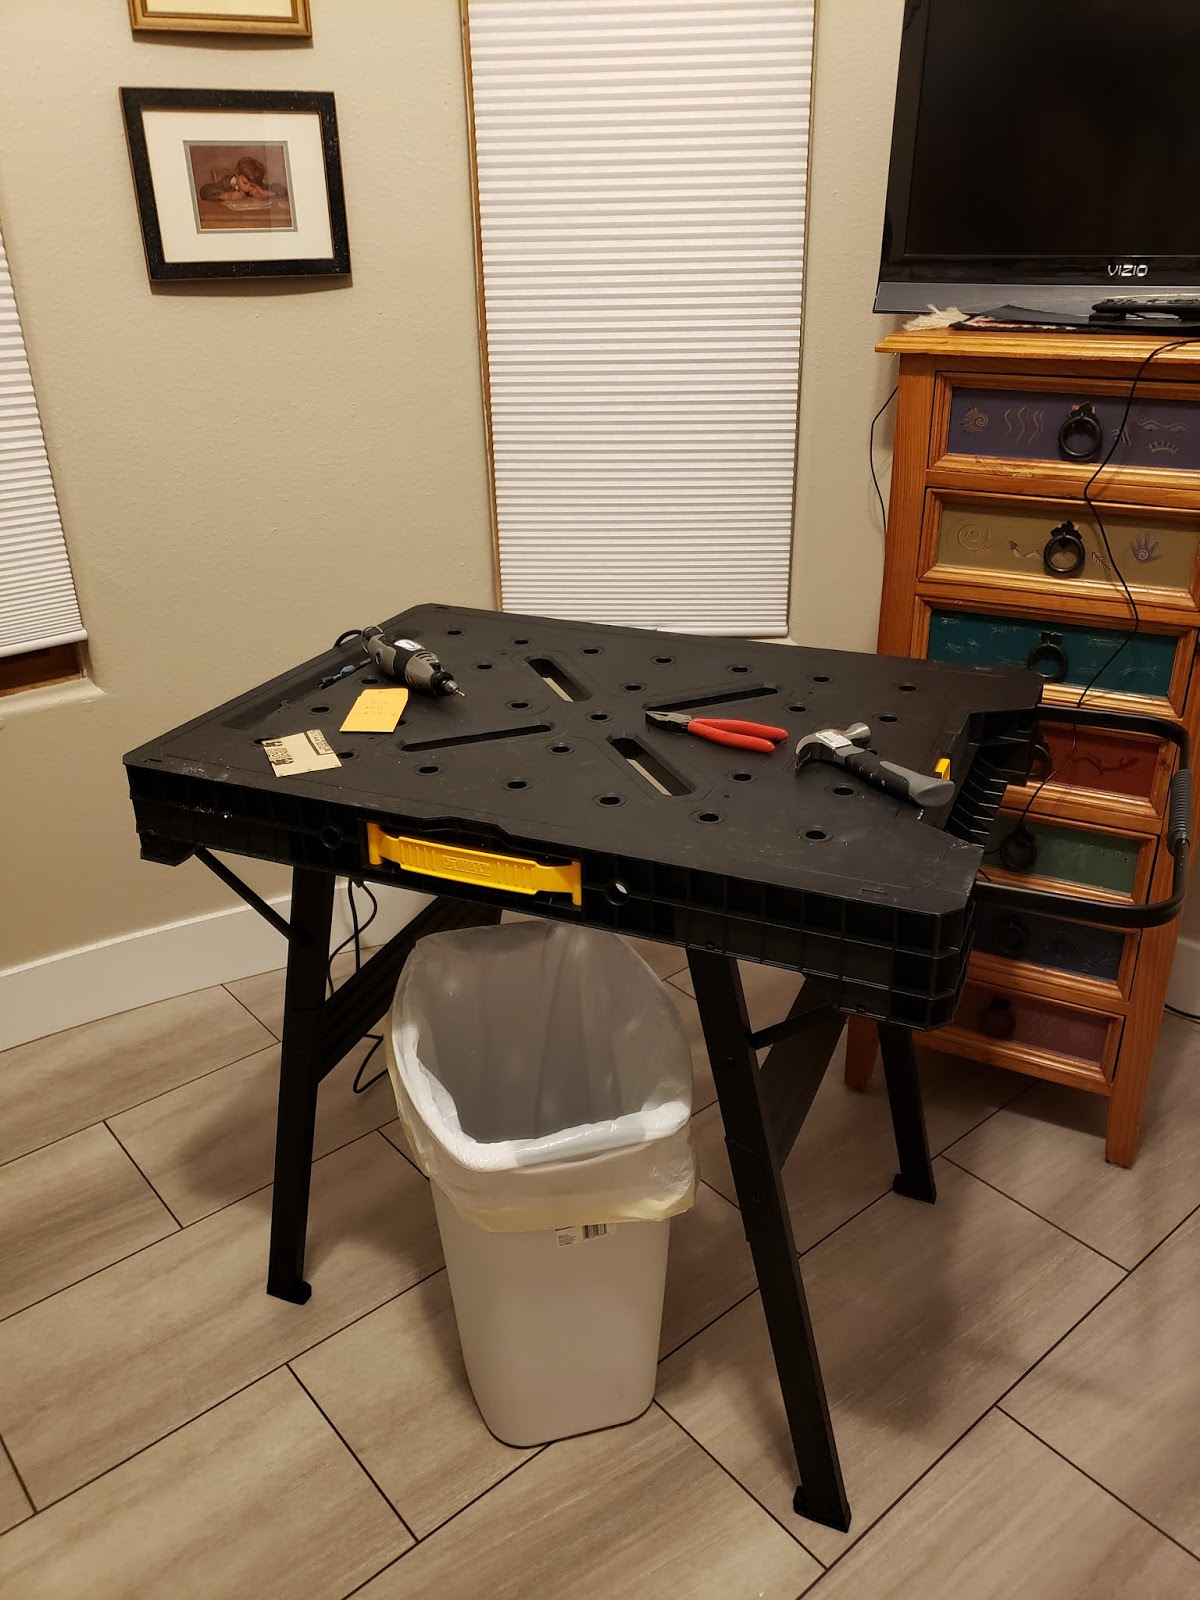
In case you're wondering, my little workbench is a nifty, collapsible DeWalt. I'm the kind of mom who asks for stuff like this for Christmas, and my son obliges.
So that's the three-part saga of stringing and tangent placement. I should be temporarily using the listing cloth to damp the tails as I work down the keyboard, but I'm not bothered by its absence at this point. That may change.
I've got 39 more keys and 50 more strings to go! Wish me luck!