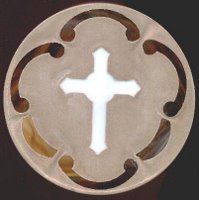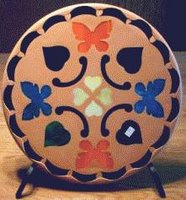
Once you’ve chosen your pattern, print it twice: once onto a heavier stock of paper and once on regular paper. Assign a number to each piece in the pattern and write it on both copies. This assumes you’re using your computer printer. If you’re using a photocopier, you can write the numbers in first and then copy.
On the light weight copy, we will make a template in the shape of the mold. Stepping stone, trivet and coaster molds are available at craft stores or from stained glass suppliers, as well as online. They come in a variety of materials – heavy duty to light weight. Another very handy and inexpensive source for a stepping stone mold is the large, clear, lightweight plastic flowerpot saucer. These are available at any garden center. They are flexible and make removing your stone a piece of cake. Just make sure they are smooth bottomed without any pattern (unless you want that pattern on the top of your stone). To make the template, place the mold on the paper, making certain your pattern is centered, and draw the outline of the mold. You now have a “frame” around your pattern. Cut around this outline/frame and place it into your mold, making sure it fits neatly against all the edges. There’s a reason for this which will be explained later. Once you’ve got everything trimmed up correctly, remove this template from the mold form and set both aside.
Cut out your pattern on the heavier stock following the heavy black lines. If you have pattern scissors, use those. They will cut a channel between all the pieces in the pattern. If you don’t have a pair of these, use regular scissors and be sure to trim away all the black. Why? When making a stained glass panel, you join all the pieces together with came lead or copperfoil and solder. The channel cut between the pattern pieces allows for this added material. If you sew, think of it as the seam allowance. With stepping stones, you want the concrete to flow in between the pieces and act as the lead.
Stay tuned for more...
